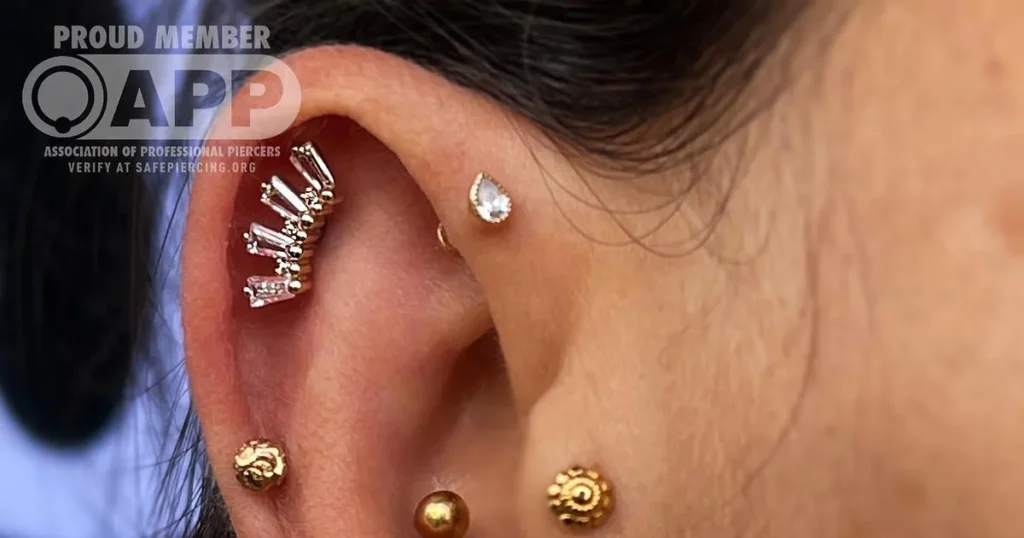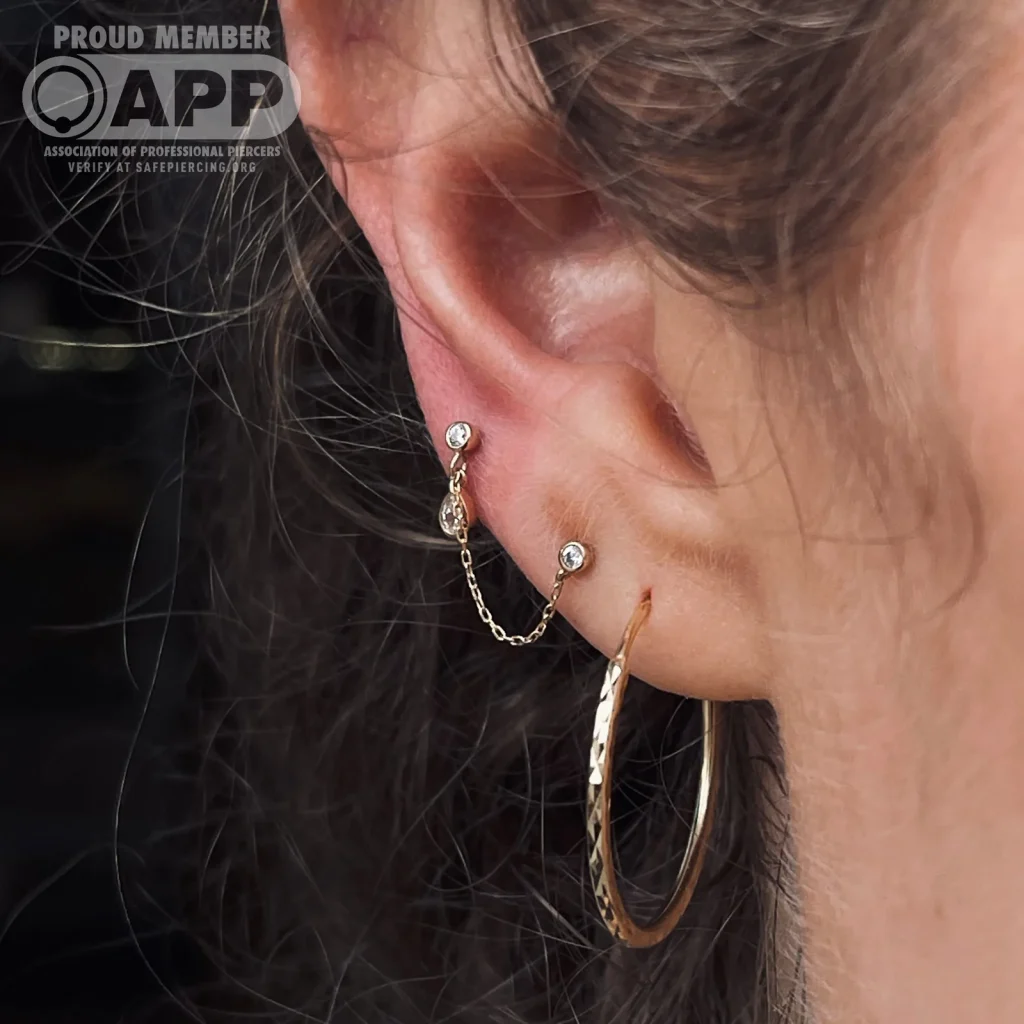
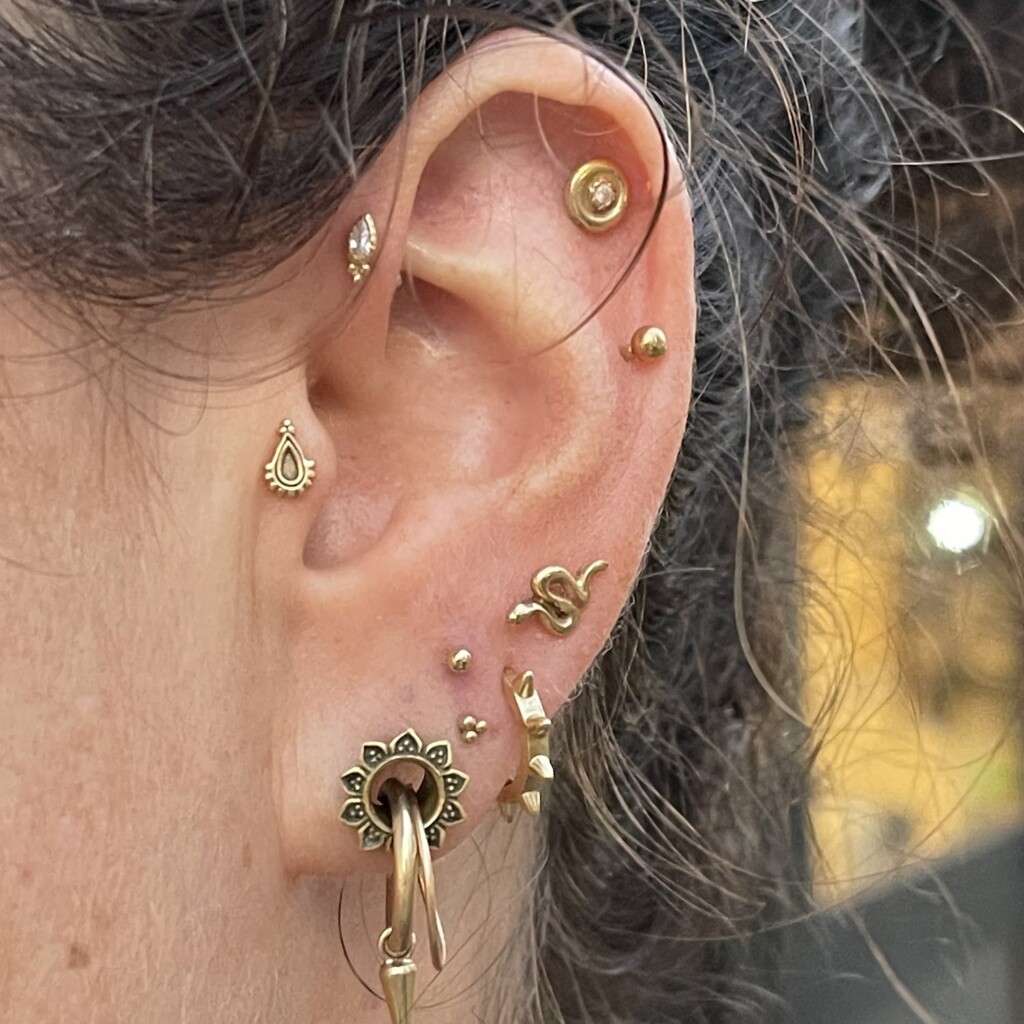
An ear piercing is a controlled penetration of ear tissue — soft or cartilage — for the purpose of wearing jewelry. There are 13 recognized types of ear piercing, each distinct in its anatomical placement, tissue thickness, and the jewelry that suits it.
This guide was written by the professional team at URBAN BODY, the first studio in Israel to be accepted as a member of the APP, at 42 Bograshov Street, Tel Aviv.
If you already have a piercing, read our complete piercing aftercare and healing guide as well.
Which ear piercings exist?
| Piercing type | Placement | Tissue | Full healing | Procedure |
|---|---|---|---|---|
| Lobe | Earlobe | Soft tissue | 3–6 months | 100 ILS |
| Upper Lobe | Upper earlobe, near cartilage | Soft tissue | 3–6 months | 100 ILS |
| Helix | Upper outer cartilage rim | Cartilage | 12–18 months | 150 ILS |
| Forward Helix | Front edge of the rim | Cartilage | 12–18 months | 150 ILS |
| Flat | Flat surface of the ear | Cartilage | 12–18 months | 150 ILS |
| Conch | Center of the ear | Cartilage | 12–18 months | 150 ILS |
| Tragus | Flap facing the ear canal | Cartilage | 12–18 months | 150 ILS |
| Anti-Tragus | Opposite the tragus, above the lobe | Cartilage | 12–18 months | 150 ILS |
| Daith | Innermost cartilage fold | Cartilage | 12–18 months | 250 ILS |
| Rook | Upper interior cartilage fold | Cartilage | 12–18 months | 150 ILS |
| Snug | Middle inner cartilage ridge | Cartilage | 12–18 months | 150 ILS |
| Orbital | Two holes joined by a ring | Cartilage | 12–18 months | 150 ILS |
| Industrial | Two holes, one barbell | Cartilage | 12–18 months | 250 ILS |
Jewelry cost is added on top of the procedure fee and starts at 150 ILS for implant-grade titanium. Consultation, anatomical assessment and the downsize appointment are included. The final price is set during consultation.
How long does an ear piercing actually take to heal?
This is where the most common mistake happens. Many places promise cartilage healing in three months. That is not accurate.
Helix, conch, tragus, daith, rook — all of them. For the first three months the piercing looks healed from the outside, but the tissue inside is still forming. Changing jewelry too early is the number one cause of irritation and bumps.
Soft tissue piercings — lobe and upper lobe — heal in 3 to 6 months. The gap comes down to blood supply: cartilage has few blood vessels, so the body struggles to build and maintain the tissue around the channel.
A year of healing is not a year of pain
This is the point that matters most, and the one most people get wrong.
12–18 months is how long the tissue takes to form — it is not a period of pain or discomfort. Tenderness and swelling fade within a few weeks, after which the piercing simply sits there and stops bothering you. After the first month or two, most people don't think about it at all.
What is required throughout the whole period is not irritating the piercing: no changing jewelry, no pressure, no sleeping on it, no playing with it. The tissue forming inside is delicate even when everything looks completely healed on the outside — and every irritation resets part of the process.
One milestone along the way: downsize at 4–6 weeks
The initial piercing is done with a longer post to leave room for swelling. Once the swelling goes down, the excess length starts to move and snag — so it needs to be replaced with a shorter post.
This is not a recommendation, it is part of the process. The downsize appointment is included in the service.
In helix, flat and conch, a timely downsize can even shorten the healing time — provided it is done in the right window. Too early and the swelling is still pressing; too late and the long post has already irritated the tissue.
The ranges in this guide are a professional estimate, not a guarantee. Actual healing time varies with anatomy, immune health, sleep habits and how consistently aftercare is followed.
Lobe piercings
Lobe
A piercing through the soft tissue at the bottom of the ear, with no cartilage involved — the most common and accessible placement there is. Full healing in 3–6 months.
The lobe is tissue with good blood supply that regenerates quickly, which also makes it the most forgiving placement if something goes wrong — and a good choice for a first piercing.
Upper Lobe
A piercing in the upper part of the lobe, close to the transition point into cartilage but still in soft tissue. Healing time is similar, though some people report slightly slower healing due to the proximity to cartilage.
Very popular as part of a curated ear — planning the ear as a whole rather than adding holes one at a time. If you are planning several placements, it's worth planning the order and spacing in advance.
Upper and outer cartilage piercings
Helix
A piercing through the curved outer rim of the ear — the arc that wraps around the upper edge. The most common cartilage piercing, and it suits almost every anatomy.
The helix lends itself to creative work: you can place several points in the same ear (double or triple helix), but the spacing has to be planned precisely in advance.
Two things determine helix healing more than anything else: that the piercing was done at the correct angle, and that it doesn't take knocks or sustained pressure from sleeping. Both are controllable — the first at the procedure stage, the second throughout healing.
Forward Helix
A piercing at the front edge of the same rim, closer to the face and temple.
Cartilage thickness in the forward area varies widely between people and is sometimes thinner than the outer rim, so the placement is only decided after an anatomical assessment.
Long hair catches easily on jewelry in this area. It's worth tying it back during healing and being especially careful when brushing — accidentally pulling the jewelry is one of the most common causes of irritation.
Flat
A piercing through the flat surface of the ear, below the rim. Offers flexibility in placement and works both as a single piercing and as part of a larger composition.
Because there is no fixed anatomical landmark here, placement depends on the shape of your ear and the look you are going for.
Inner cartilage piercings
Any piercing can be complex. The level of complexity is determined by your anatomy, not by the name of the placement — there are cases where a lobe piercing is more complex to perform than a cartilage one. That is why we assess the ear before every decision rather than working from a blanket rule.
Conch
A piercing in the center of the ear, in the large concave bowl between the outer rim and the tragus.
Cartilage thickness varies from person to person. In some cases the conch and the helix are identical in thickness, and sometimes the lobe is thicker than both — which is why placement and jewelry are decided based on your ear rather than a blanket rule.
Once fully healed, the conch also allows large-diameter hoops that wrap around the outer edge of the ear.
Tragus
A piercing through the cartilage flap facing the opening of the ear canal.
The tragus sits exactly where an earbud goes, which makes it the placement most sensitive to pressure from headphones.
Anti-Tragus
A piercing through the cartilage nub opposite the tragus, above the lobe. This is one of the less common ear piercings — simply because fewer people choose it.
Daith
A piercing through the innermost cartilage fold, above the opening of the ear canal.
The daith was developed in 1992 by American piercer Erik Dakota in Santa Cruz, together with a client who was studying Hebrew at the time. She is the one who gave it its name — da'at, meaning knowledge — because, as she put it, the piercer had to be especially clever to work out how to do it. The first documentation was published that same year in issue 4 of Fakir Musafar's Body Play magazine, the same issue in which the industrial was first presented.
The claim that a daith cures migraines is fake news. It originates in a real confusion: there genuinely is an acupuncture point in the ear used in migraine treatment. But acupuncture and piercing are two entirely different things — a piercing is a permanent channel through tissue, not controlled point stimulation. There is no connection between the two, and no clinical research supports the claim.
Its deep, recessed position makes it harder to reach for cleaning, so it demands a particularly strict aftercare routine throughout the healing period.
Rook
A vertical piercing through the upper interior cartilage ridge, below the outer rim and above the daith fold. The ridge is narrow and anatomically complex.
Not everyone has a fold pronounced enough to safely hold a rook channel — checking structural suitability before the procedure is part of the consultation.
Snug
A horizontal piercing through the inner vertical cartilage ridge, requiring perfect alignment through a particularly thick cartilage wall.
Considered by professionals to be one of the most stubborn and demanding ear placements to heal, and it requires a piercer with advanced structural experience to prevent persistent swelling, migration or rejection.
Orbital
Two holes joined by a single piece of jewelry that passes between them — usually a hoop or a horseshoe. It can be done in the lobe as well as in the cartilage areas.
The angle and the distance between the holes must be precise to the size of the jewelry. If the distance is too large or too small, the jewelry applies constant pressure to the walls of the channels and healing will not go well.
An orbital in cartilage takes time to heal, and in some cases we perform the two holes separately and only connect them with a single piece of jewelry after full healing.
Industrial
Two separate holes in the upper rim of the ear (usually a forward helix and an upper helix), connected by a single long straight barbell.
Both holes must be at exactly the same angle, otherwise the barbell applies pressure to one of them. The angle also has to be such that the barbell doesn't rest on the flat area — in some people it protrudes, and the barbell will press on it throughout healing.
Glasses wearers: this is a point to plan for in advance. The arm of the frame passes through the area, and the placement needs to be planned so it doesn't collide with the barbell.
Which jewelry suits each piercing type?
In piercing, jewelry quality affects healing more than any factor other than placement. Three things determine it: material, angle and style.
Material
Implant-grade titanium to ASTM F136 or ASTM F1295, or solid 14K and 18K gold.
Not plated steel, not nickel, and not "white gold" from an unidentified source. Acrylic, plastic and sterling silver are not suitable for a fresh piercing — they react with open tissue and delay healing, even when marketed as "hypoallergenic".
At URBAN BODY the post is always implant-grade titanium. The choice between titanium and gold applies only to the decorative front end.
Angle
Jewelry must sit at 90 degrees to the tissue. Jewelry sitting at an angle applies constant lateral pressure to the wall of the channel — one of the main causes of chronic irritation and migration.
Style: why not a ring from the start
A fresh piercing is done with a flat-back labret, not a ring.
The curve of a ring applies constant pressure to the walls of the channel — a circular shape simply doesn't match a straight channel that is still forming. That pressure, combined with the greater movement a ring allows, is one of the most common causes of irritation bumps.
When you can switch to a ring: not before six months, and in most cases around a year after the procedure. The change is best done at the studio, where the correct diameter can be fitted.
A small raised area that forms around the piercing as the tissue responds to sustained pressure. You'll hear other names for it too — "bump", "pressure bump", or just "the bump". It is not an infection, and usually the jewelry does not need to come out — in most cases removing the source of pressure (unsuitable jewelry, a wrong angle, or external friction) is enough for it to settle and disappear. If a bump appears, come back for an assessment before trying to treat it yourself.
Threadless and internally threaded
Threadless is a mechanism with no threading, where a bent pin on the decorative end press-fits into a smooth post. It gives a low profile and is more comfortable to sleep on.
Internally threaded is a mechanism where the screw sits on the decorative end and enters a hollow post, so there is no rough threading scraping the tissue during insertion.
Both types are recommended for a fresh piercing, provided they come from certified manufacturers.
The studio stocks titanium jewelry from 150 ILS, alongside gold pieces from the world's leading manufacturers — BVLA, Anatometal, Buddha Jewelry, Industrial Strength and NeoMetal. Every piece is autoclave sterilized before fitting, with daily helix testing — details in our hygiene and sterilization guide.
How to care for an ear piercing
The principles of aftercare are the same for every piercing. The only difference with cartilage is the duration — the same diligence, simply over a longer period.
- Clean twice daily with sterile 0.9% saline solution, straight from the bottle. No alcohol, no hydrogen peroxide
- Rinse in the shower — about 30 seconds under running water, without touching or moving the jewelry
- No touching — don't touch, rotate or play with the jewelry with unwashed hands
- No sustained pressure — don't sleep on the pierced side, and be careful with tight hats and glasses
- Headphones — don't put an earbud in the pierced side during healing. You can go back to using them only after the downsize, at the follow-up appointment. Direct pressure on the jewelry causes irritation and not infrequently infection too
- No sea or pool — for the first month or two
- Downsize at 4–6 weeks — included in the service
- No early jewelry changes, even if everything looks healed from the outside
Read the full piercing aftercare and healing guide →
Frequently asked questions
How long does an ear piercing take to heal?
12 to 18 months for full healing — helix, conch, tragus, daith and rook alike. A lobe piercing heals in 3–6 months. At 4–6 weeks a downsize is performed, replacing the post with a shorter one after the swelling goes down.
Which ear piercing is easiest to heal?
There is no single answer. It varies from person to person and depends on anatomy, how carefully aftercare is followed, and other variables. Generally soft tissue heals faster than cartilage thanks to a richer blood supply — but that doesn't mean the lobe will necessarily be easier for you.
When can I change the jewelry for the first time?
Not before full healing is complete. At 4–6 weeks you come in for a check-up and we shorten the post, but that is not a change to different jewelry. We'll be glad to perform the first change for you at the studio.
When can I switch to a ring?
Not before six months, and in most cases around a year. The curve of a ring applies pressure to the walls of the channel, which isn't suitable while the tissue is still forming.
Can I sleep on an ear with a fresh piercing?
Better to avoid it, especially in the first weeks. Sustained pressure on a healing piercing lengthens the process and can create an irritation bump or push the jewelry to a wrong angle. A travel pillow with a hole in the middle is a simple, effective solution.
What do I do if a bump forms next to the piercing?
A bump like that is usually a response to pressure or irritation, not an infection. Don't remove the jewelry and don't squeeze or puncture it. Come back for an assessment — in most cases identifying and removing the source of pressure is enough for it to settle.
How do I recognize a real infection?
Spreading redness (beyond the local pink that is normal in the first week), heat radiating from the ear, throbbing pain that worsens over time, and thick yellow or green discharge with an odour. If these signs appear — contact us or a doctor, and don't remove the jewelry yourself, as that can trap the infection inside.
Can a piercing be done with a gun?
No — and not only in cartilage. A gun is not suitable for any piercing, not even the lobe. It crushes the tissue instead of piercing it, cannot be fully sterilized, and doesn't allow the use of implant-grade jewelry. No professional piercer uses a gun. We work with single-use sterile needles only.
How many piercings can I get in one visit?
Up to three, with about two months between visits. This isn't an arbitrary limit — healing several channels at once puts a load on the body and lengthens the healing of all of them.
Can I swim in the sea or a pool?
Not during healing. Sea water, pools and hot tubs contain bacteria, chlorine and salinity that irritate the piercing. If you did go in — rinse with sterile saline immediately afterwards.
How much does an ear piercing cost?
The price has two parts: the procedure fee and the jewelry. The procedure ranges from 100 ILS (lobe) to 250 ILS (daith, industrial), and titanium jewelry starts at 150 ILS. Consultation, anatomical assessment and the downsize appointment are included. Full pricing guide →
What is the minimum age?
From age 16 we perform most types of ear piercing. Under 16, a parent or guardian must be present with photo ID, and the decision is at the professional discretion of the piercer.
Why does it matter to go to a certified studio?
Every body piercing — not just cartilage — requires precise anatomical tracking, sterile tools and single-use needles. A studio with active membership in a professional association guarantees sterilization protocols, hygiene controls and correct technique, and dramatically reduces the risk of long-term complications.
In summary
Every type of ear piercing has its own anatomical placement, tissue thickness and aftercare needs. The choice depends on your anatomy, on your willingness to commit to the healing process, and on the look you are going for.
Not every ear suits every placement. In the consultation we'll examine your structure and tell you honestly what will heal well for you and what won't. Complexity depends on anatomy, not on the name of the placement — which is why the assessment comes before the decision.
Not sure which piercing is right for you?
Free consultation and anatomical assessment, no obligation, at 42 Bograshov Street Tel Aviv — about a 7-minute walk from Dizengoff Center.
URBAN BODY · 42 Bograshov St, Tel Aviv
Sunday–Thursday 12:00–19:00 · Friday 12:00–15:00 · Saturday closed
About the author
Avishay Shabtai is the founder of URBAN BODY and a professional piercer with over 20 years of experience. The first official member in Israel of the APP, the international Association of Professional Piercers, and a student of Fakir Musafar. He specializes in safe anatomical execution, implant-grade jewelry fitting, and supporting clients throughout the healing process.